render_async 2.1.7 Lets You Retry Requests With Delay
Published Last updated loading views
In this blog post, we will explain all new features and how they came to be in the latest 2.1.7 version.

Hey, thanks for reading about the new release, I truly appreciate it! Before we jump into details, I’d like to mention that I created a render_async Discord server. Please join us there, we are just starting! Let’s make this gem even better.
The new version has a couple of new features you can try out:
- Retry render_async request after some time
- Control polling by dispatching events
- Customize content_for name
Also, our README got a brand new shine to it ✨
Let’s go over all the new features and how to use them.
Wait a bit, then retry
Before, we added a feature where you could tell render_async to retry the request if it fails. It is pretty straightforward. All you need to do is specify the number of retries you want to have. If the request is not successful after, let’s say, three attempts, the render_async will stop retrying.
Retrying is useful for some endpoints that are ‘flaky’, meaning that sometimes they return the successful response, sometimes they fail. To do this, you can write the following:
<%= render_async users_path, retry_count: 5 %>By setting retry_count, we are telling how many times render_async should
retry the request to the users_path in our case. But, for some folks, it may be
useful to have some delay between the requests. For example, maybe the server
you are trying to reach is overcrowded, and it could use a break from constant
requests. Whatever the reason is, you can now set a retry_delay like so:
<%= render_async users_path,
                 retry_count: 5,
                 retry_delay: 2000 %>
We are giving the server a 2 seconds break before render_async makes another request to it. The logic with retrying will stay the same, meaning the render_async will quit retrying after 5th attempt.
I’m happy to hear your experiences with this feature! Consider joining the render_async Discord server and get a response quickly!
Hey, you, stop. OK, now start.
With render_async, you can easily do
HTML polling without having to write JavaScript.
You can do this by writing this in your view:
<%= render_async comments_path, interval: 5000 %>render_async will then send a request to comments_path every 5 seconds. This
is all nice and dandy, but how in the hell do you stop it? I am glad you asked.
Before, you could control polling by interacting with an element on the page,
such as a link that can stop and start polling. To do this, you can do
something like so:
<a href='#' id='comments-button'>Load comments</a>

<%= render_async comments_path,
                 toggle: { selector: '#comments-button', event: :click },
                 interval: 2000 %>
The “Load comments” button will serve as a switch, toggle if you like. What you need to do
is to specify what is a toggle to render_async. You can do this by passing a toggle options
object with selector - an ID of the element, and event - e.g. ‘click’ if the element is a button.
In our case, whenever a user clicks the “Load comments” button, the polling will stop if started, or start if stopped. You could utilize events render_async is dispatching after each request to change the copy of the link if you want, but that’s a story for another post. Consider joining the newsletter to get new posts ASAP.
Stop, but with events
We described one way on how to control polling. The new version added the ability to control polling by dispatching events. In other words, render_async now listens for:
- ‘async-stop’, and
- ‘async-start’ events.
All you need to do is the following:
<%= render_async comments_path,
                 container_id: 'controllable-interval', # set container_id so we can get it later easily
                 interval: 3000 %>
render_async will poll the comments_path every 3 seconds, and it will put the response in the
container with controlalble-interval ID. We will see in a second why this matters. Then,
in your view, you can put two buttons - one to stop polling, another to start it.
<button id="stop-polling">Stop polling</button>
<button id="start-polling">Start polling</button>

<script>
  var container = document.getElementById("controllable-interval")
  var stopPolling = document.getElementById("stop-polling")
  var startPolling = document.getElementById("start-polling")

  var triggerEventOnContainer = function (eventName) {
    var event = new Event(eventName)

    container.dispatchEvent(event)
  }

  stopPolling.addEventListener("click", function () {
    container.innerHTML = "<p>Polling stopped</p>"
    triggerEventOnContainer("async-stop")
  })
  startPolling.addEventListener("click", function () {
    triggerEventOnContainer("async-start")
  })
</script>
We then trigger ‘async-stop’ whenever “Stop polling” is clicked, or we trigger ‘async-start’ whenever “Start polling is clicked.
💡 Please note that events need to be dispatched to a render_async container.
Controlling through events is pretty neat if you need that fine-grained control over the polling. Another improvement that can be made is to stop polling based on the response from a server or to pass in an option to start polling immediately when the toggle is set (which is not the case right now). If you are interested in any of these or have questions or feedback, consider joining the render_async Discord server!
Naming is hard
Another feature in the 2.1.7 version allows you to specify a name for the
content_for where render_async code will reside. It might not make much
sense to you at first, but there is a possibility to have a render_async inside
render_async 🤯.

You would call render_async for one endpoint, and that endpoint has another render_async call in its response. You can get into more details in the README. The new version allows you to differentiate the place where the logic for the nested render_async will reside.
<%= render_async comment_stats_path, content_for_name: :render_async_comment_stats %>

<%= content_for :render_async_comment_stats %>
The nested render_async’s logic will render in a different place than the one
from the parent render_async call. In the example above, the content will
render inside render_async_comment_stats path, considering you put the
content_for with that name.
Anyways, if doing this cascade rendering is your thing, we have a bug that we
need some help with. The problem that happens is that JavaScript doesn’t get evaluated
if you use the Vanilla JS version of the gem. The jQuery version works
perfectly fine because the replaceWith method from jQuery evaluates JS that
you give to it. If you have any ideas on how to solve this in plain JavaScript, join
our Discord, and let’s talk there.
New look, who this?
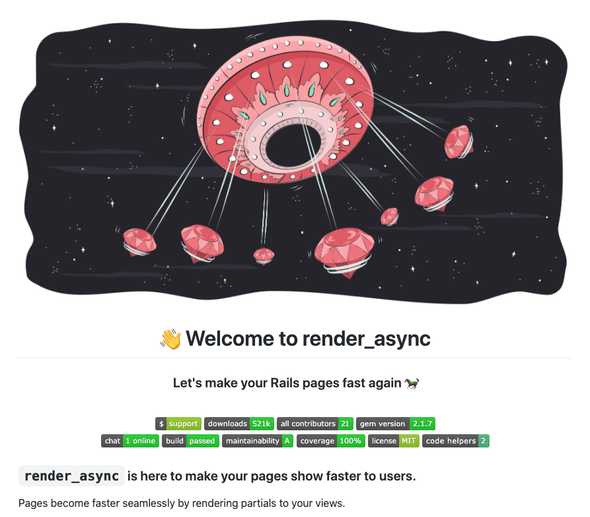
Furthermore, render_async got its README page polished a bit! Check it out here if you’d like, or admire the photo below:

Do not forget to star 🌟 the project and share it with your friends and coworkers if you find it useful.
Final thoughts
Releasing a new version, polishing the README, and working on new features was a blast! Thanks for everyone that helped and keep doing the great work on contributing. I know I mentioned this a few times in the post, but please join the Discord if you are using this gem, that way we can make it even better!
P.S. 💸 If you like my work on this gem so far, and you want to give me some juice and motivation to keep improving and maintaining it, consider sponsoring me on GitHub Sponsors or through PayPal.
Also, feel free to share this on Twitter with friends and coworkers below:
I released a new 2.1.7 version of render_async over the weekend.
— Nikola Đuza (@nikolalsvk) August 3, 2020
There's a bunch of new features, check out what you can do now 👇https://t.co/VhmaROL2Gl
Until the next one, cheers!
Join the newsletter!
Subscribe to get latest content by email and to become a fellow pineapple 🍍